DIY gutter guard: what you can and cannot do
DIY gutter guard: what you can and cannot do: practical numbers, costs, and trade-offs, written independently.
DIY gutter guard: what you can and cannot do: practical numbers, costs, and trade-offs, written independently. The guide below shows the numbers and the trade-offs.
- Typical range
- Varies by system and site
- First step
- Measure the space and confirm the load
- Professional help
- Recommended for structural or electrical work
Some links on this page are affiliate links.If you buy through them we may earn a commission at no extra cost to you. We do not accept payment for rankings. Read the full disclosure.
You can install a screen panel, a brush insert, or a foam insert yourself on a single-story run. You cannot install a fabricated micro-mesh system or a reverse-curve cover yourself and expect it to perform like a professional job, because those products depend on cut-to-profile metal, rigid framing, and fastening into sound fascia. Everything else is a question of height, tools, and how much of the work you are willing to redo.
What DIY Covers
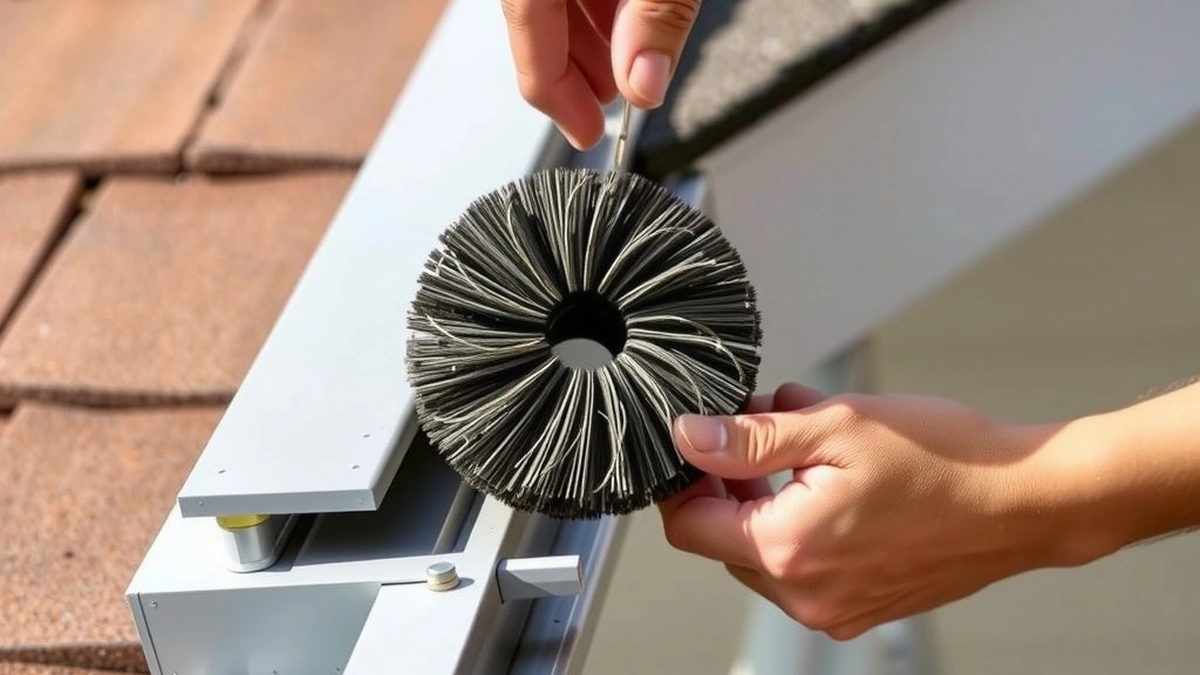
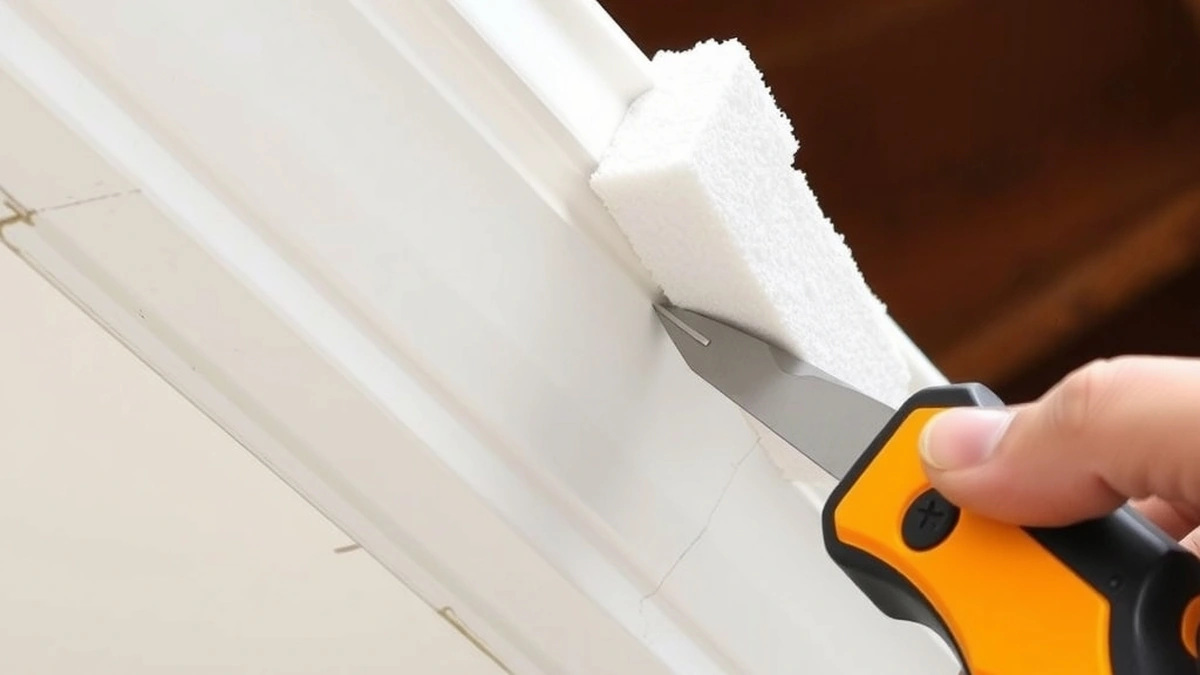
A DIY gutter guard is any cover a homeowner can measure, cut, and fasten without fabricating metal or working above a height they can reach safely from a ladder. In practice that means four jobs: laying brush or foam into the trough, screwing down a rigid screen section, fitting a clip-on mesh kit, and replacing a downspout strainer.
All four are reversible. If the product disappoints, you lift it out and try something else. That reversibility is the real argument for starting here, more than the price.
What DIY Does Not Cover
Three things sit outside the homeowner’s scope, and none of them is about skill.
The first is fabricated metal. A proper micro-mesh system uses panels cut to the gutter profile, with mitred corners riveted and sealed and a rigid frame that holds the panel flat. A DIY mesh kit arrives with a light channel and butt joints, which is a shorter-lived product.
The second is the roof. Reverse-curve covers are formed metal profiles that must sit at the correct angle to the roof edge so water follows the nose. Setting that angle by eye is how homeowners end up with water running behind the cover and down the fascia.
The third is access. Above roughly six feet, falls become the dominant risk, and OSHA fall-protection rules apply to anyone working at height for pay. A homeowner is not covered by those rules, but the physics does not care who is paying.
The Materials That Work
| Product | Installed cost | DIY realistic? | What it handles | Where it fails |
|---|---|---|---|---|
| Brush insert | $200–$800 | Yes | Large leaves, twigs | Needles, grit |
| Foam insert | $200–$800 | Yes | Large leaves | Fines, standing water |
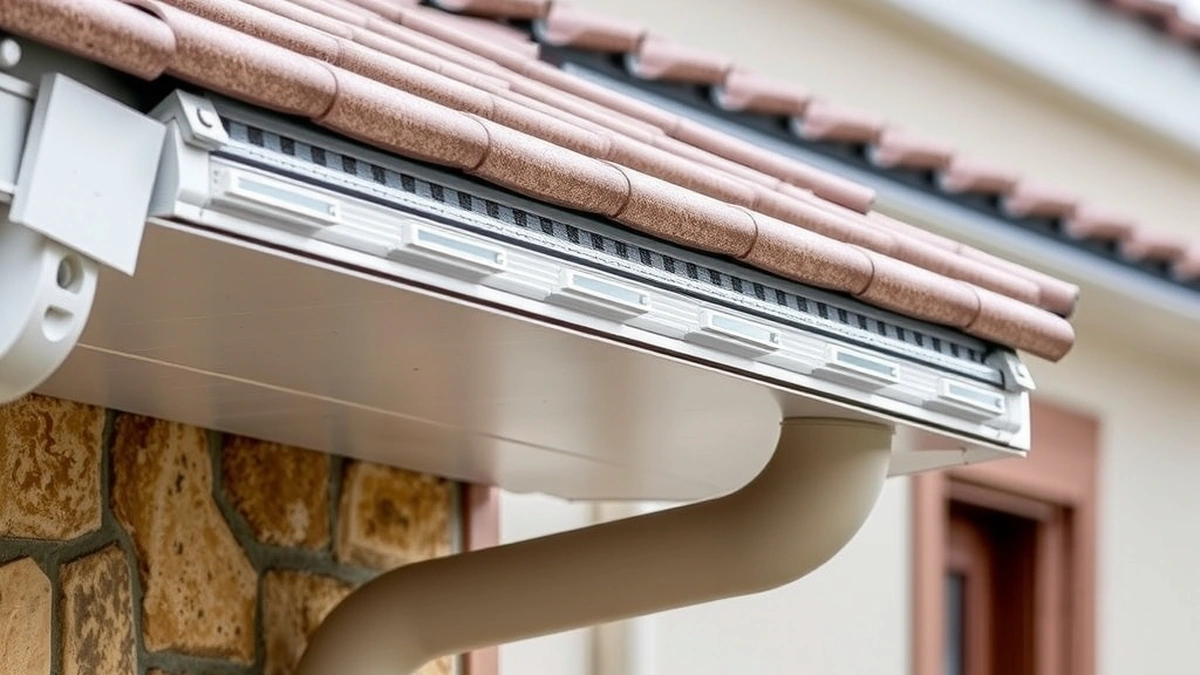
| Rigid screen section | $300–$900 | Yes, single story | Large leaves | Needles, seed pods |
| Clip-on mesh kit | $300–$900 | Yes, simple roofline | Leaves, some grit | Corners, long runs |
| Fabricated micro-mesh | $1,800–$4,500 | No | Fine debris | Nothing if fitted well |
| Reverse-curve | $2,000–$5,000 | No | Whole leaves | Overflow in a downpour |
The costs are installed-market ranges; DIY material usually lands at the bottom of each band, because you are removing labor and travel rather than negotiating a discount.
The Cost Arithmetic
Take a 200-foot run on a single-story house, which is a common size for the calculation.
- A DIY screen kit at $300 to $900 is $300 ÷ 200 = $1.50 per foot at the low end and $900 ÷ 200 = $4.50 per foot at the high end.
- A professionally installed micro-mesh system at $1,800 to $4,500 is $9.00 to $22.50 per foot on the same run.
- Mid-range on both: screen material around $600, installed mesh around $3,150, a difference of $2,550.
Now compare either number to cleaning. Two visits a year at $150 to $400 each is $300 to $800 annually, or $1,500 to $4,000 over five years. A $600 screen pays for itself within two to three seasons if it actually reduces the debris reaching the trough.
That “if” is where most DIY arithmetic goes wrong. A screen that lets needles through does not reduce cleaning frequency; it adds a panel the crew must lift before scooping. If the debris is fine, the $2,550 you saved is still there while you pay for the same number of cleanings.
Tools, Ladders, and the Six-Foot Rule
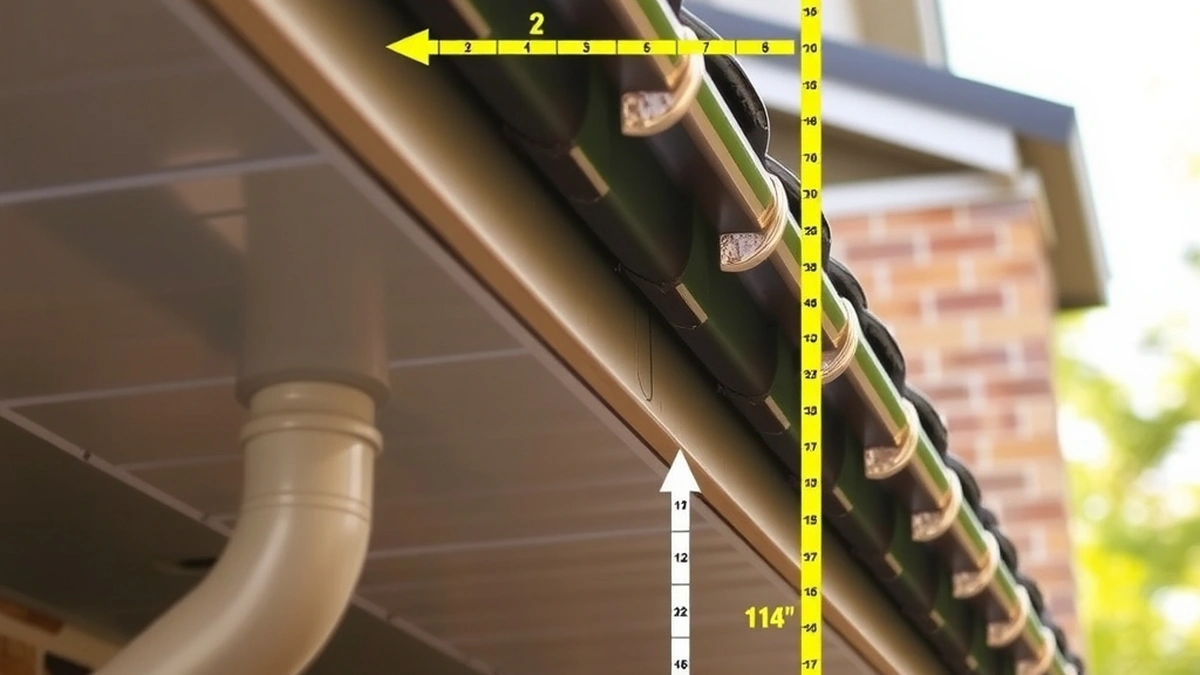
The tool list is short: a tape measure, tin snips or a fine-tooth blade, a drill with self-tapping screws, gloves, a 4-foot level, and a ladder rated for your weight plus the tools.
The ladder is the part people underestimate. A step ladder on soft ground, at the edge of a bed, reaching over a gutter, is the classic fall setup. Set the feet on firm ground, keep the top within 3 feet of the wall, and move the ladder rather than leaning out to reach the last two feet.
Gloves matter. Cut screen edges and the cut ends of polypropylene bristles are sharp enough to open a hand, and a cut hand on a ladder is a fall waiting to happen. Wear eye protection when cutting metal overhead.
Installing a Screen Guard
- Measure each run separately and add 5 percent for cuts and mistakes. Do not multiply the total footage by a single price; corner cuts eat into the count.
- Clear the gutter completely before anything goes on. A guard over a full trough traps the debris and the water.
- Check the pitch with the level while the gutter is open. Water should fall about 1 inch per 10 feet toward the outlet.
- Cut and fit each section so it sits under the first row of shingles and over the outer lip, with no gap at the front edge.
- Fasten with self-tapping screws into the front lip or with clips, keeping the spacing even and the panel flat.
- Run water from a hose along the full run and watch the downspout outlet. Any ponding or overflow means the panel or the pitch is wrong.
When to Stop and Call
Call an installer if the house is two stories or more, if the roofline has valleys and dormers that need fabricated corners, if the fascia is soft when probed, or if the gutter holds standing water after rain. Those four turn a weekend job into a repair project.
Call an installer as well if the debris is fine and heavy. A pine over the roof means a coarse screen will not solve the problem, and the honest answer is that the DIY product does not exist for that load.
For the professional side of the same job, see gutter guard installation and micro-mesh installation. The material costs are broken out in screen cost and brush insert cost, and the comparison against hiring the work out is in gutter guard installation cost.
Bottom Line
DIY is a real option for screens, brush, and foam on a single-story run with coarse debris, and a $300 to $900 kit can pay for itself against $300 to $800 a year in cleaning. It is not an option for fabricated mesh or reverse-curve covers, and it is not a solution for needles, grit, or a two-story roof. Buy the cheap product where it fits, and spend the saved labor on the cleaning you will still need.
Frequently asked questions
What is the most important measurement?
Start with the ceiling or clearance number; it decides which systems can fit.
What does a typical project cost?
Costs vary by system and site access; the guide shows the line items and a planning range.
Can I install this myself?
Some tasks are DIY-friendly, but structural, electrical, and load-bearing work should be done by a licensed professional.
How long does installation take?
A simple setup is a weekend; a full build with electrical or structural work can take several weeks.
What should I check before buying?
Confirm dimensions, load ratings, and the manufacturer's installation requirements for your exact model.
Where can I find local help?
Ask a licensed contractor or installer who has worked with the same system and can inspect your site.
Sources
Some links are affiliate links.If you buy through them we may earn a commission at no extra cost to you. We do not accept payment for rankings. Read the full disclosure.