Foam insert installation
How to install foam gutter inserts: measuring trough width and depth, cutting the trapezoid, mitring corners, and notching around outlets.
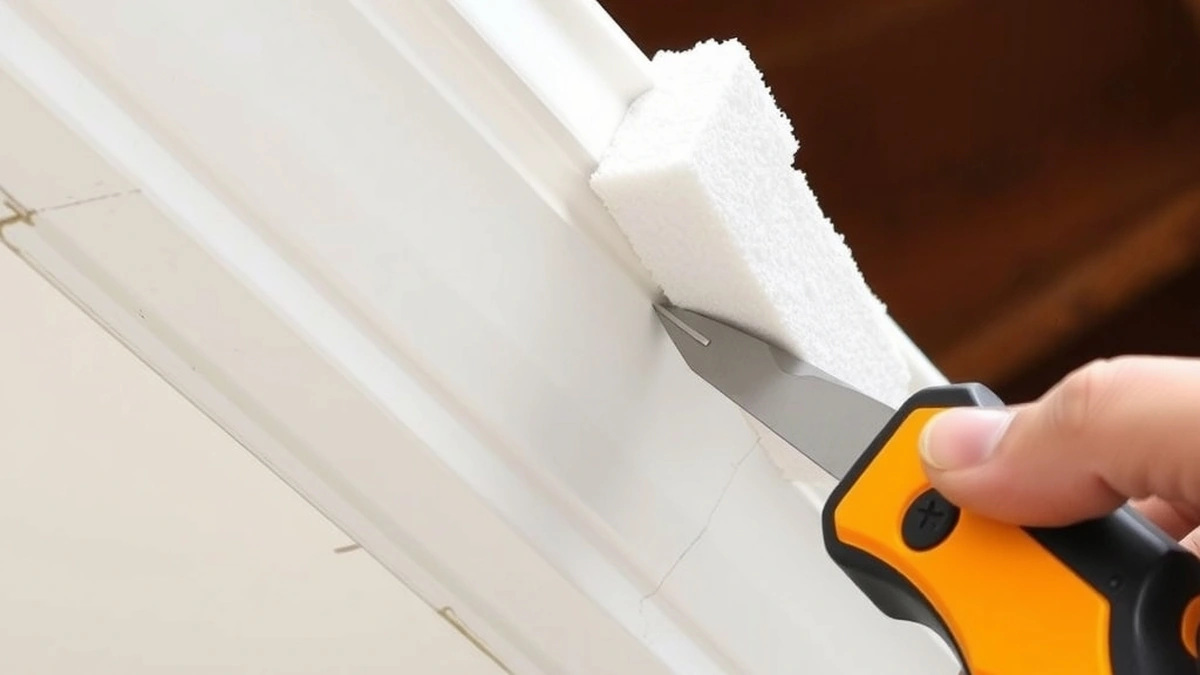
Foam insert installation means measuring trough width and depth, cutting trapezoid sections so the top sits just below the gutter lip, mitring corners and notching around outlets. A 200-foot single-story run takes two to four hours.
- Skill level
- Beginner to moderate
- Time for 200 ft
- 2–4 hours
- Typical section size
- 3–4 inches
- Installed cost, 200 ft
- $200–$800
Some links on this page are affiliate links.If you buy through them we may earn a commission at no extra cost to you. We do not accept payment for rankings. Read the full disclosure.
Foam insert installation is a cutting and fitting job, not a fastening one. The trapezoid block drops into the gutter trough, rests on the floor and presses against both walls, and the only tools that matter are a tape and a sharp knife. Getting the width and the height right is the whole task.
What the Job Involves
A foam gutter insert is a rigid trapezoid of closed-cell or polyurethane foam sized to fill the lower part of the gutter, with a sloping top face that water runs down toward the outlet and leaves slide off. There are no clips, screws or brackets. Fit comes from contact with the gutter walls, so an undersized block lets water run down the sides and an oversized one bows the gutter.
Installed, the job runs $200 to $800 on a typical home, the same band as brush inserts. Because so much of that is cutting and fitting, the DIY saving is large relative to the total.
Tools and Materials
| Item | Purpose |
|---|---|
| Tape measure | Trough width, depth and run length |
| Utility knife with new blade | Cutting foam cleanly |
| Fine-tooth saw or handsaw | Mitring thick sections |
| Straight edge or square | Square cuts and 45-degree corners |
| Work gloves | Handling cut foam edges |
| Garden trowel | Clearing the trough |
| Bucket or tarp | Catching debris |
| Garden hose | Flow test at the end |
Buy closed-cell foam where the budget allows. Open-cell polyurethane absorbs water and breaks down faster, and the fitting labor is identical for both, so the cheaper material is a false saving on any job you are doing yourself.
Measuring the Trough
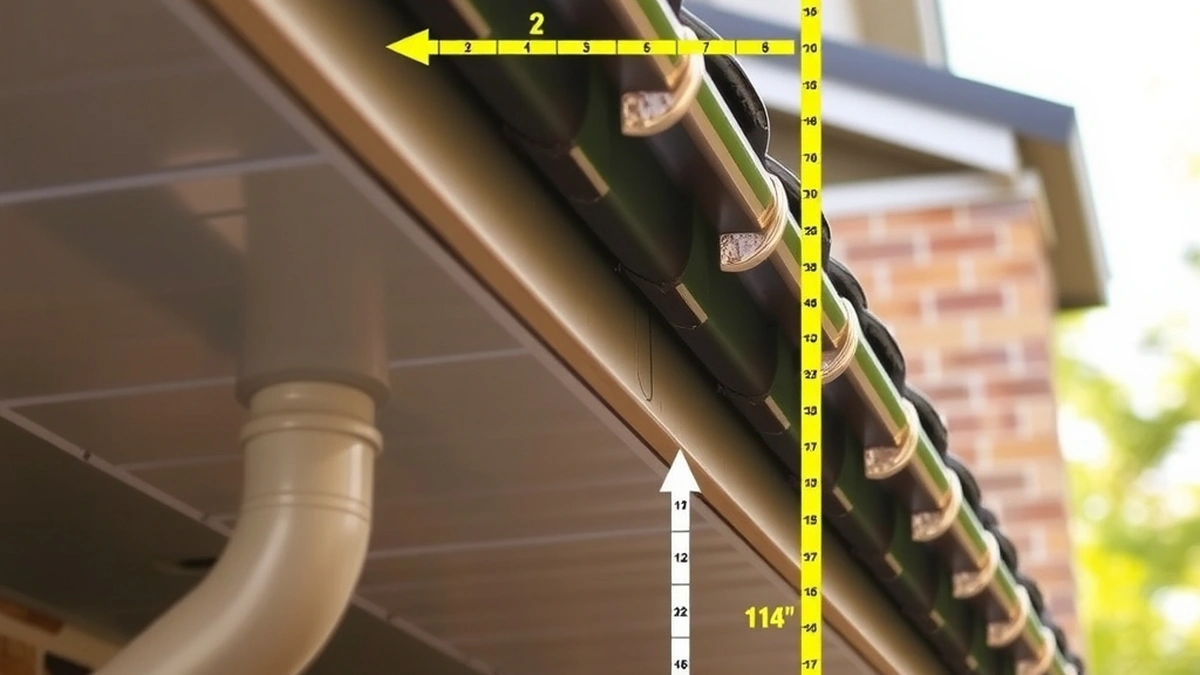
Three measurements per run, taken at several points along it because gutters are rarely uniform.
- Inside width across the top of the trough, measured under the lip.
- Inside depth from the lip down to the gutter floor.
- Run length from end to end, measured separately for each side of the house.
Write down the smallest width you find rather than the average. A gutter that has been re-hung or knocked can be narrower at one point than another, and a block cut to the average will bind there and sit loose everywhere else.
Add up the runs and add 10 percent for mitre waste. Rigid foam cannot be bent, so every corner costs a triangular offcut. A 180-foot house with eight corners can lose most of a section to waste.
Cutting and Fitting
- Clear the gutter and flush it. Scoop out leaves and silt, then run a hose from the high end and confirm water reaches the outlet without pooling.
- Cut a test section for the first run and dry-fit it before cutting anything else. The top face should sit just below the gutter lip, roughly a quarter inch down.
- Trim the sides so the block touches both walls with light pressure and no bowing. If the gutter walls move outward when the foam goes in, it is too wide.
- Cut mitres at each corner rather than butting square ends. Two 45-degree cuts meeting on the diagonal close the gap that a square butt leaves.
- Notch around every hanger strap that crosses the trough, and re-fit to check the notch lines up.
- Work along the run in one direction, keeping the sections tight end to end, and cut the last one to finish flush.
Corners, Straps and Outlets
Corners are where rigid foam is weakest. An outside corner needs a mitre that follows the gutter’s own angle, which is usually 90 degrees but is not always. Test the cut against the corner before committing a full section to it.
Hanger straps are the second trap. Where a strap crosses the trough, the foam has to be notched from underneath, not cut through, so the block still sits on the gutter floor either side of the strap. A notch cut too deep leaves the section unsupported and it will sag.
At each downspout outlet, stop the foam 4 to 6 inches short. The outlet is the low point of the run and the only place water can leave; foam across it turns the gutter into a trough that fills until it spills over the front lip.
Working at Height
A single-story run is ladder work, and the ladder should be on firm ground with its top clear of the roof edge. On two stories the work is overhead and the sections are awkward to hold, which is why most homeowners hire that part out.
OSHA’s fall-protection standard applies to work above six feet, and it is written for people being paid. A homeowner should assume the same rules apply to their own spine.
Checking the Fit
After the run is filled, hose-test it at the high end. Water should run across the top faces of the foam, reach the outlet and discharge. Look for water tracking down the sides of any section, which means it is undersized, and for standing water at the low point, which means the pitch is wrong or the outlet is blocked.
Then check from the ground. A correct install shows a thin line of foam just under the gutter lip along the whole run, with no section proud of the lip and no gap at a corner.
If the fit is wrong, foam cannot be adjusted the way a brush insert can be re-seated; the section has to be recut or replaced. That is why the dry-fit step matters more here than on any other guard type.
For pricing see foam insert cost, for what goes wrong after a season see foam insert problems, and for the wider job see gutter guard installation. If a downspout is part of the problem, downspout installation cost covers that separately.
Bottom Line
Foam insert installation is three measurements, a dry fit, and a series of cuts that have to be square and mitred. None of it is difficult, and on a single-story run the $200 to $800 installed price is mostly labor you can do yourself. Get the width from the narrowest point of the run, keep the top face below the lip, mitre the corners and leave every outlet open, and the block will do the modest job it is designed for.
Frequently asked questions
How is foam gutter insert installed?
The foam trapezoid is cut to the inside width of the trough, trimmed so the top sits just below the gutter lip, and laid in end to end. No fasteners are used; the block rests on the gutter floor and against both walls.
Do I need to remove the gutter to install foam?
No. The insert drops into the existing trough from above. The gutter does need to be empty and clean, and any hanger strap that crosses the trough has to be worked around.
What size foam insert do I need?
Measure the inside width at the top of the trough and the depth to the floor. Standard 5-inch K-style gutter usually takes a 3- to 4-inch block, and the fit should be snug without bowing the gutter walls outward.
How do you handle corners with rigid foam?
Cut a mitre at each inside and outside corner so the two sections meet on a diagonal. A butt joint at a corner leaves a triangular gap that passes debris and water.
Should foam cover the downspout outlet?
No. Cut the foam back 4 to 6 inches from the outlet and keep the opening clear, otherwise the block dams water at the lowest point of the run and the gutter overflows at the lip.
How long does installation take?
Two to four hours for a 200-foot single-story run with a few corners. A two-story house or a roofline with valleys, multiple corners and exposed straps takes longer and is usually hired out.
Sources
Some links are affiliate links.If you buy through them we may earn a commission at no extra cost to you. We do not accept payment for rankings. Read the full disclosure.