Micro-mesh installation
How micro-mesh gutter guards are installed: tools, panel fitting, three fastening methods, corner details, and the checks that decide whether the job holds.
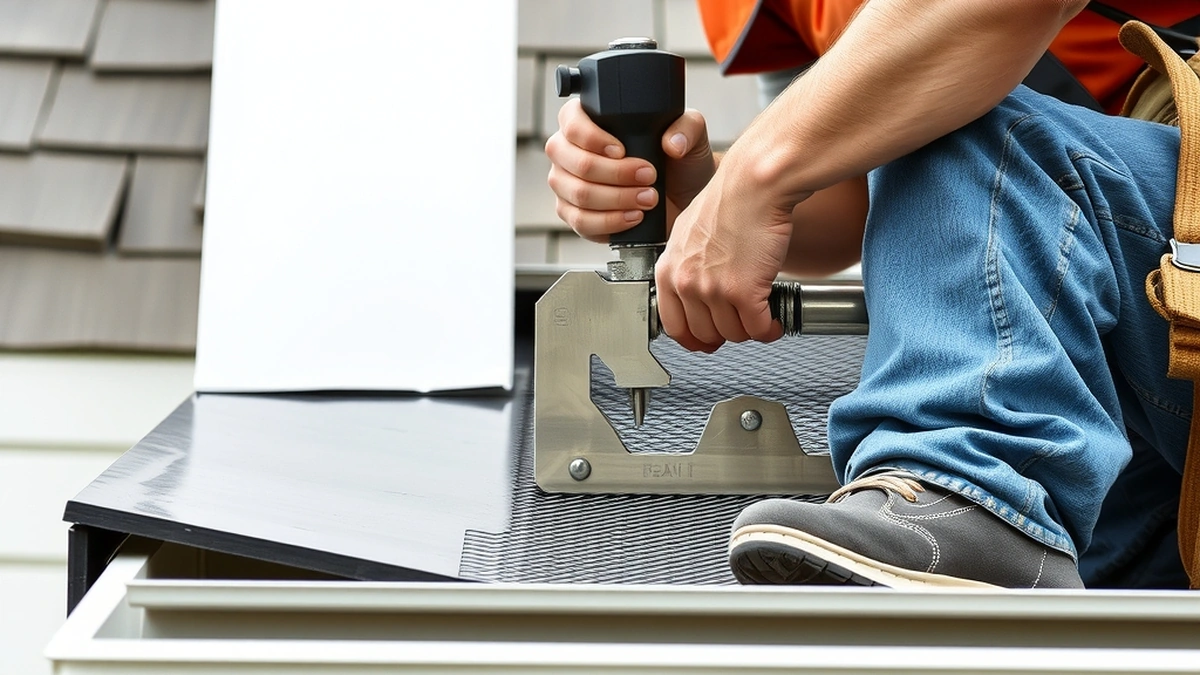
Micro-mesh installation means cleaning the gutter, checking pitch and hangers, cutting framed mesh panels to each run, fastening them at the front lip or fascia, and fabricating corners and outlets. A crew of two fits 150 to 200 linear feet in one day.
- Installed cost
- $1,800 - $4,500
- Typical duration
- 1 day for 150 - 200 ft
- Crew size
- 2 people
- Panel overlap
- 2 - 4 inches at joints
Some links on this page are affiliate links.If you buy through them we may earn a commission at no extra cost to you. We do not accept payment for rankings. Read the full disclosure.
Micro-mesh installation is a sequence, not a single step: clean the gutter, verify pitch and hangers, cut framed panels to each run, fasten them, fabricate corners and outlets, then test flow. A two-person crew fits 150 to 200 linear feet in a day on a one-story house. The panels themselves cost $1,800 to $4,500 installed, and most of the failures that follow are traceable to a step that was skipped rather than a product that failed.
What the Job Requires
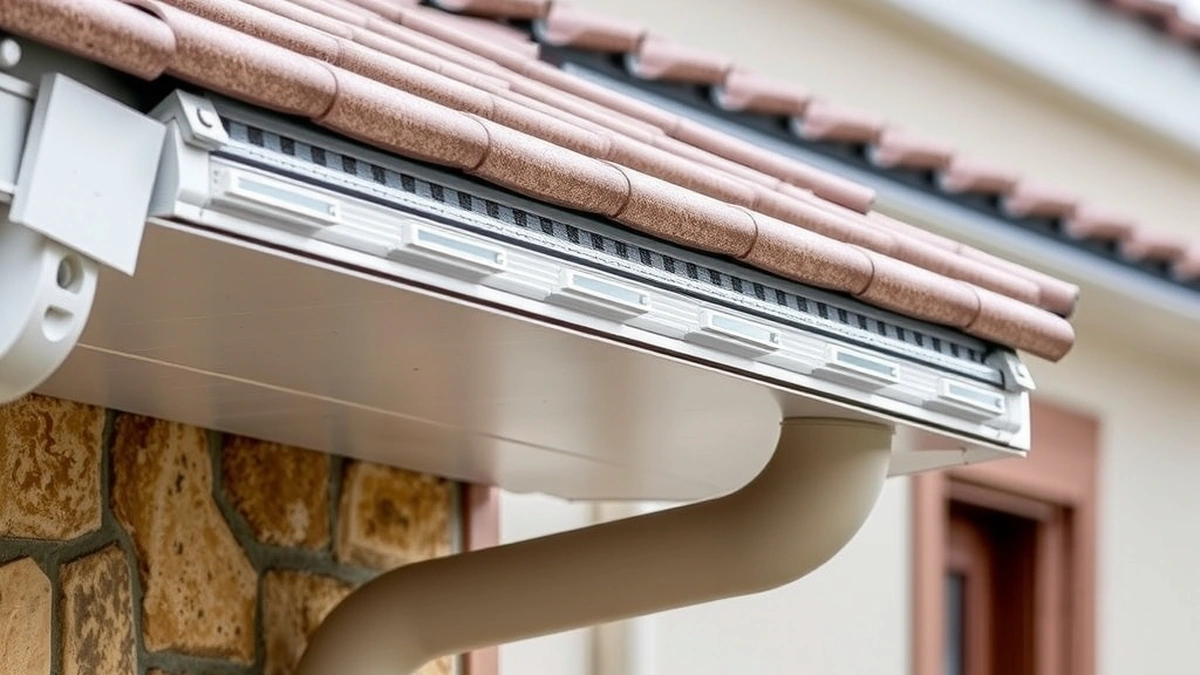
Micro-mesh is a woven stainless or coated mesh bonded to a rigid frame. Because the frame is stiff, the panels do not drape to fit a gutter the way a screen does, so the gutter profile has to match the frame or the frame has to be formed to the profile.
The tool list for a professional install is short but specific:
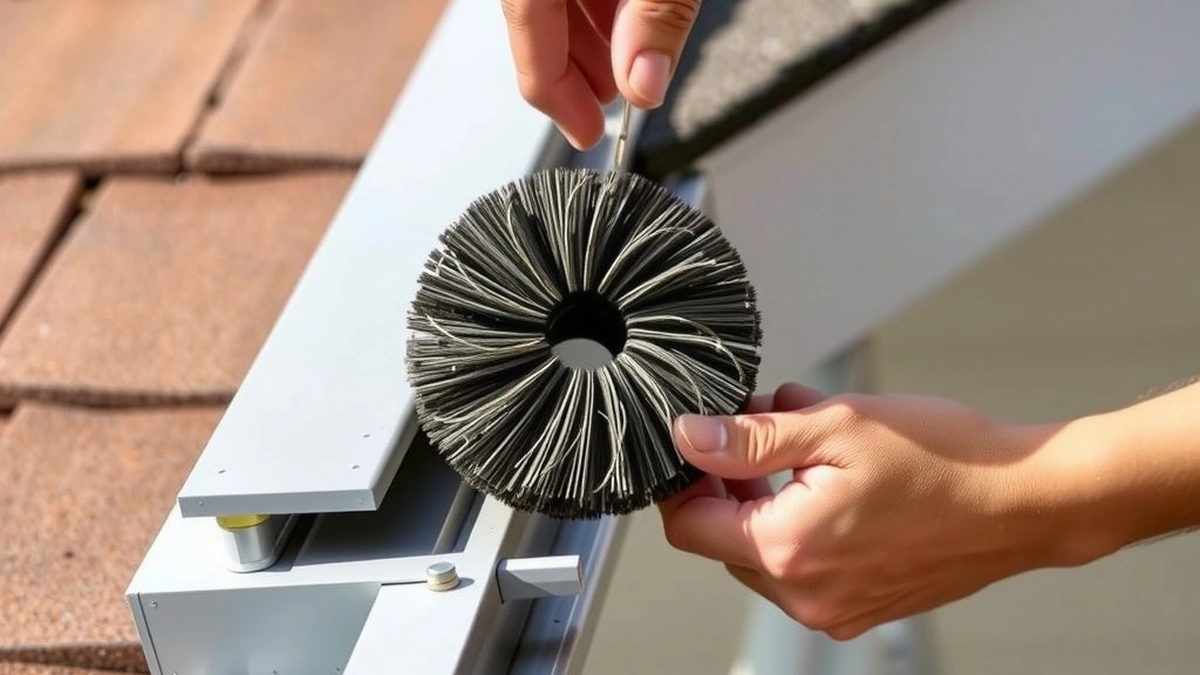
- Tin snips or a powered shear for the mesh and frame
- A drill with a clutch, so screws seat without crushing the gutter lip
- Hex-head or self-tapping screws with neoprene washers
- A pop rivet gun for frame joints
- Flashing sealant for corners and end caps
- A ladder or stand, plus fall protection above six feet
Before Any Panel Goes On
The prep is where the job is won. Three checks come first.
Cleaning. The trough must be empty. Debris left under a guard is invisible until it dams water, and by then the only fix is removing panels. Budget $150 to $400 for a professional cleaning if the gutter has not been done this season.
Pitch. A gutter should fall about 1 inch per 10 feet toward the outlet. A guard cannot fix a run that is flat or back-pitched, and water will pool on the panel and overflow at the low end.
Fasteners and fascia. Loose hangers get tightened or replaced, and soft fascia gets repaired at $6 to $12 per linear foot. Screws into rotten wood will not hold, and the panel will lift in the first wind.
Fastening Methods Compared
There are three common ways to fix a micro-mesh panel, and each suits a different gutter.
| Method | How it works | Best for | Risk |
|---|---|---|---|
| Front lip screw | Screw through the outer lip into the panel frame | K-style aluminum gutter | Crushing a thin lip |
| Fascia bracket | Bracket screwed to the fascia board, panel clips in | Hidden hangers, heavy panels | Rot behind the bracket |
| Clip-on | Panel clips over the outer edge, no penetration | Rented property, light panels | Wind lift on exposed runs |
Front-lip screws are the most common and the least forgiving. A clutch set too high deforms the lip and creates a gap that catches debris. Fascia brackets spread the load but depend on sound wood. Clip-on systems install fastest and hold least in a gale.
The Installation Sequence
- Set the ladder or stand at a corner and work one run at a time, never reaching across a gap.
- Clean the run and flush the downspout before measuring anything.
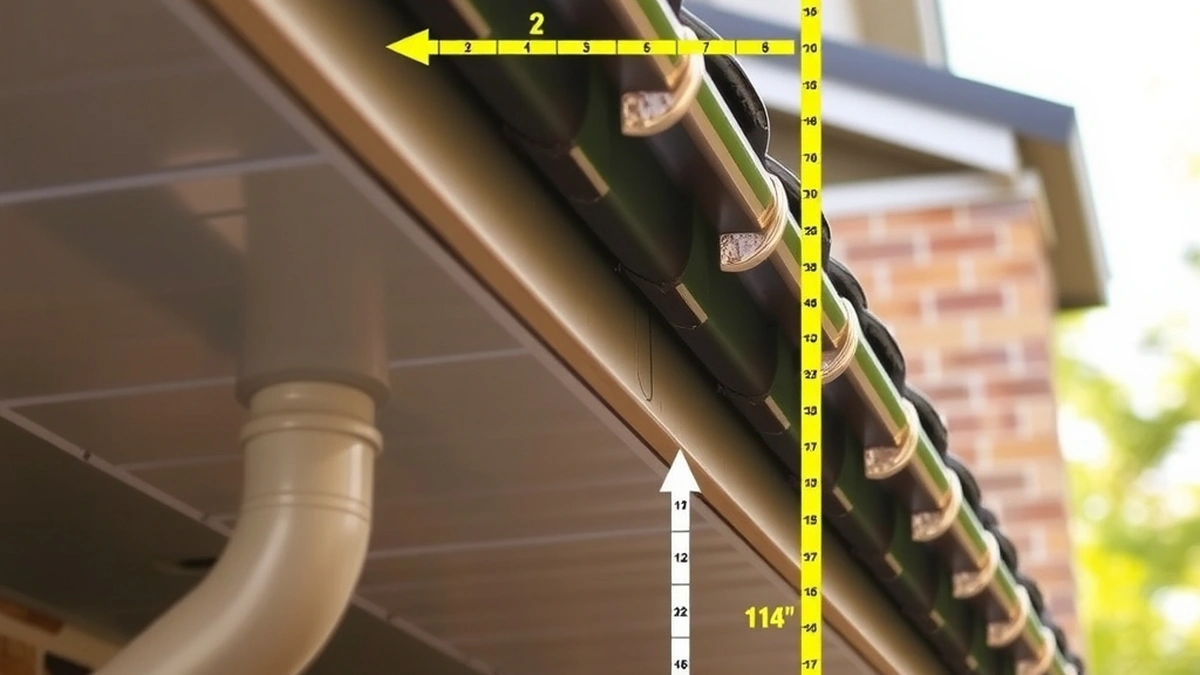
- Measure the run, then cut the first panel 2 to 4 inches long so it can overlap the next at a joint.
- Set the panel in place, check that it sits flat with no rocking, then fasten from the middle outward.
- Overlap the next panel in the direction of water flow so the seam sheds rather than scoops.
- Fabricate corners with a mitred frame and seal the joint, then fit end caps and outlet collars.
- Run water at the high end and watch the full run for pooling, sheeting, and outlet flow.
The overlap direction matters. A panel lapped against the flow catches water at the seam and pushes it over the front lip, which is the single most common installation defect.
Corners, Valleys, and Outlets
Straight runs are easy. The details are where time goes.
An inside corner collects debris from two directions, so the frame has to be continuous or the gap has to be sealed. A mitred frame with a riveted joint is the durable answer; a butt joint with sealant is the fast one and usually the first place to leak debris.
Valleys dump a concentrated flow onto the gutter. The panel there needs full support underneath, or it will sag under the weight of water and matted leaves.
Outlets need a clear opening. A panel that covers the outlet without a collar restricts flow, and the gutter backs up at the exact point designed to drain it.
What Goes Wrong on a Cheap Install
The failures repeat, and they are visible within one season:
- Panels lapped the wrong way, so seams scoop water.
- Screws over-tightened, deforming the lip and opening a debris gap.
- Corners butted and sealed instead of framed, so the sealant fails first.
- Panels cut short at the end wall, leaving a gap the width of a leaf.
- No pre-install cleaning, so the trough is already half full.
- Pitch left uncorrected, so water pools on a flat run.
Each of these costs less to prevent than to fix. Removing and refitting panels is a second labor charge, and the original invoice does not cover it.
Testing and Handover
A proper install ends with water. Run a hose at the high end of each run at low flow and watch the whole length. You are looking for four things: water entering the trough rather than sheeting over the front, no pooling on the panel, flow reaching the outlet, and a dry fascia behind the gutter.
Then ask the installer for the panel specification, the fastener type, and the warranty terms in writing. A warranty that excludes clogging covers the mesh, not the reason most owners call back.
Installation Cost Versus DIY
The panels and frames for a 200-foot house are a real material cost, and the installed price of $1,800 to $4,500 includes labor, cutting, fittings, and callbacks. A homeowner buying panels directly can save the labor share but takes on the corner fabrication and the warranty risk.
For a one-story ranch with a simple roofline, DIY is plausible. For two stories, valleys, or a wraparound porch, the ladder time alone makes the professional install the cheaper option in practice. Our micro-mesh cost breakdown separates material from labor, and micro-mesh problems covers what to check after the first storm. If you are still comparing systems, reverse-curve installation describes the other premium option, and gutter guard installation covers the general sequence.
Frequently asked questions
How is micro-mesh gutter guard installed?
The gutter is cleaned and inspected, pitch and hangers are corrected, framed mesh panels are cut to each run and fastened at the front lip, fascia, or a bracket, and corners and outlets are fitted and sealed.
Can I install micro-mesh myself?
Some panel products are sold to homeowners, but cutting frames to the gutter profile, fabricating corners, and fastening without crushing the lip is difficult. Most systems are contractor-installed for that reason.
How long does micro-mesh installation take?
A two-person crew usually fits 150 to 200 linear feet in one day on a one-story house. Two stories, steep pitches, or old guard removal can add half a day or more.
Does the gutter need to be cleaned before installation?
Yes. Debris trapped under a guard cannot be seen again until it causes an overflow, so a pre-install cleaning at $150 to $400 is part of a proper job.
How are the panels fastened?
Three methods are common: screws through the front lip, brackets into the fascia, and clip-on systems over the outer edge. The right choice depends on gutter type and fascia condition.
What pitch should the gutter have?
A fall of about 1 inch per 10 feet toward the downspout is the usual target. A guard cannot correct a run that falls the wrong way, so pitch is checked before panels go on.
Sources
Some links are affiliate links.If you buy through them we may earn a commission at no extra cost to you. We do not accept payment for rankings. Read the full disclosure.