Reverse-curve installation
How reverse-curve gutter guards are installed: mounting height, nose clearance, bracket spacing, and the alignment that makes surface tension work.
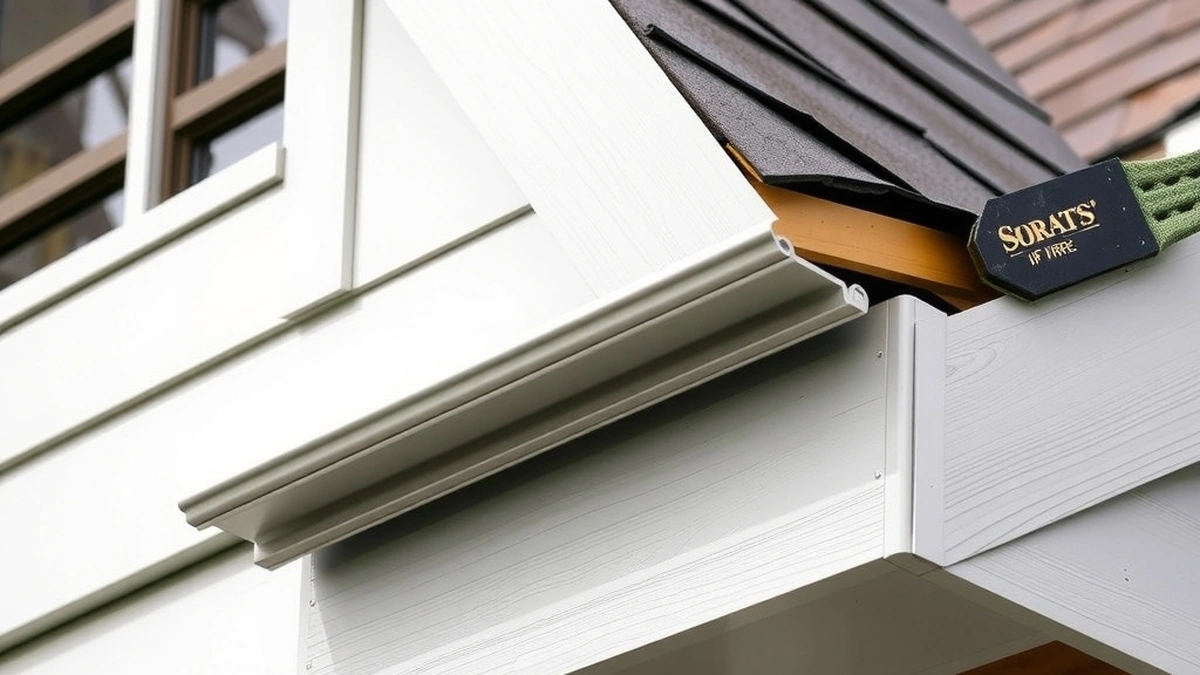
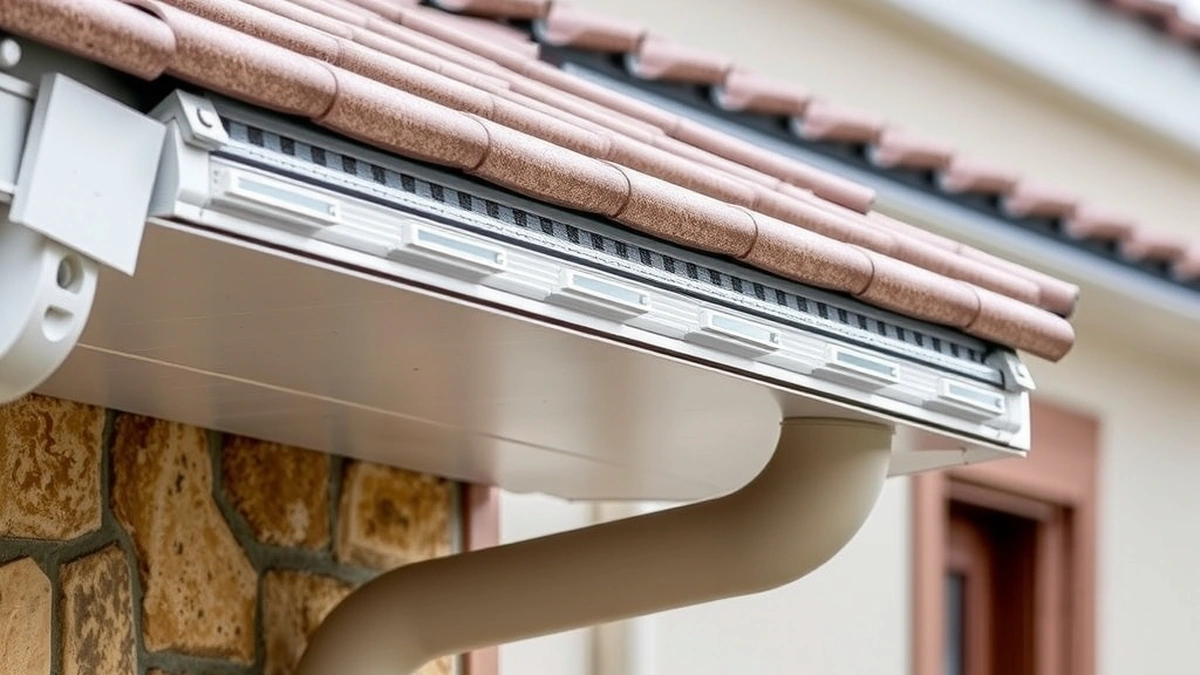
Reverse-curve installation sets a curved panel over the gutter so the nose sits just above the front lip, with brackets into the fascia and the rear edge tucked under the shingles. Height and alignment decide whether water wraps into the trough or overshoots.
- Installed cost
- $2,000 - $5,000
- Per foot, 200 ft
- $10 - $25
- Typical duration
- 1 day for 150 - 200 ft
- Critical dimension
- Nose gap above front lip
Some links on this page are affiliate links.If you buy through them we may earn a commission at no extra cost to you. We do not accept payment for rankings. Read the full disclosure.
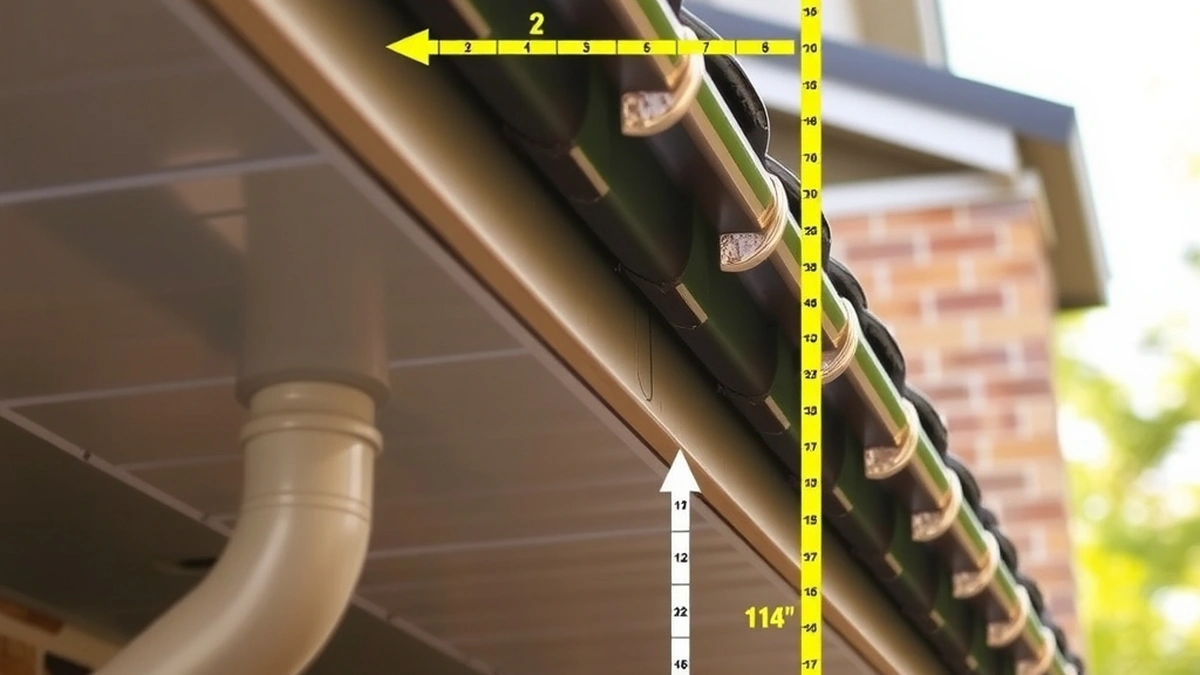
Reverse-curve installation is an alignment job more than a fastening job. The panel goes over the gutter with its rear edge under the first shingle course and its curved nose set just above and slightly behind the gutter’s front lip, so water wraps around the curve by surface tension and drops into the trough. If the nose sits too high, water overshoots. Too low, and debris bridges the gap. Installed cost is $2,000 to $5,000.
What Reverse Curve Does
A reverse-curve guard is an aluminum profile with an S-shaped cross section, sometimes called a gutter helmet. Water running off the roof follows the curve around the nose and releases into the gutter. Leaves and twigs, being too stiff and too light to follow the tight radius, continue past the nose and fall to the ground.
The mechanism depends on flow speed and nose geometry, not on pore size. That is the opposite of a screen or micro-mesh panel, and it explains why installation tolerances are tighter. A screen that sits a little off still drains. A reverse curve that sits a little off sheds water onto the ground or the siding.
What the Job Needs
The parts list is short and the fit is not:
- Curved aluminum panels cut to each run
- Fascia brackets or hidden hangers, depending on the system
- Stainless or coated screws with washers
- End caps and corner sections
- Sealant for the end caps only, not the run
- Tin snips, drill, level, and a chalk line
Panels are preformed. Unlike micro-mesh, there is no on-site frame fabrication, which is why reverse curve can be faster to hang than its price suggests.
Height and Setback: The Two Numbers
Two dimensions decide whether the system works, and both are specified by the manufacturer.
Nose height above the front lip. Typically a fraction of an inch to about half an inch. Set too high, water clears the nose and lands outside the gutter. Set too low, the gap closes and debris bridges it.
Nose setback behind the lip. The nose usually sits slightly back from the front edge so water releases inside the trough. Too far forward and the release point is outside the gutter line.
A level and a consistent spacer make this repeatable. Eyeballing it across a 60-foot run does not, because a small error at one end compounds into a visible overshoot at the other.
The Installation Sequence
- Clean the gutter and confirm pitch, because the panel cannot correct a run that falls the wrong way.
- Check the fascia for soft wood and replace any section that will not hold a bracket.
- Set the first bracket at one end and establish the nose height with a spacer.
- Run a chalk line along the fascia so every bracket lands at the same height.
- Slide the rear edge under the first shingle course, working from one end and lifting only as much as needed.
- Fasten the brackets at the manufacturer’s spacing, usually 24 to 36 inches.
- Fit corner sections and end caps, sealing only those joints.
- Test with a hose at low flow along the full run and watch the nose for overshoot.
Bracket Spacing and Fastening
Spacing is the difference between a panel that holds its line and one that waves. Closer spacing costs more brackets and holds the profile better on long runs and in snow country.
| Spacing | Effect | Best for |
|---|---|---|
| 24 inches | Stiffest line, highest parts cost | Snow load, long runs |
| 30 inches | Standard for most systems | Typical residential |
| 36 inches | Fastest, slight sag between points | Mild climate, short runs |
Fasteners go into fascia, not into the gutter lip. A screw through the lip of an aluminum gutter will deform it, and the deformation changes the nose height you just set.
Where Installations Go Wrong
The failures are predictable and almost all alignment-related:
- Nose set too high, so water overshoots in heavy rain.
- Nose set too low, so leaves bridge the gap and water backs up.
- Inconsistent bracket height, so the panel waves along the run.
- Rear edge not under the shingles, so water gets behind the panel and down the fascia.
- End caps unsealed, so the run leaks at both ends.
- Pitch uncorrected, so water stands in the trough under a panel that looks fine.
Each of these reads as “the guard doesn’t work” to a homeowner, and each is a fit problem rather than a product problem.
Testing and Handover
Test with a hose, not with a rainstorm you cannot schedule. Run water at low flow at the high end and watch the nose along its full length. You want the sheet to wrap the curve and release inside the gutter, with no drip line outside the lip.
Then run water hard, the way a downpour arrives. Some overshoot at peak flow is normal on a steep pitch. Continuous overshoot at moderate flow is not, and it means the nose height needs adjusting before the job is signed off.
Cost and What It Includes
Installed reverse curve is $2,000 to $5,000, which is $10 to $25 per foot at 200 linear feet ($2,000 ÷ 200 and $5,000 ÷ 200). The price includes panels, brackets, fittings, and labor. It usually excludes gutter cleaning at $150 to $400, fascia repair at $6 to $12 per linear foot, and any shingle work needed to tuck the rear edge.
For the comparison with mesh systems, see reverse-curve vs micro-mesh and reverse-curve cost. If the guard is going onto a gutter that is already failing, gutter guard installation covers the prep work, and reverse-curve problems lists what to watch in the first season.
Frequently asked questions
How is a reverse-curve gutter guard installed?
The rear edge slides under the first shingle course, the panel is fastened to the fascia with brackets or screws, and the curved nose is aligned just above and slightly behind the gutter's front lip.
Can I install reverse curve myself?
It is harder than a flat screen because alignment drives performance. The nose has to sit at a specific height and setback, and a panel installed a quarter inch off will overshoot in heavy rain.
How much does reverse-curve installation cost?
Professionally installed, $2,000 to $5,000 on a typical house. At 200 linear feet that is $10 to $25 per foot, and two-story access pushes toward the top of the range.
Does reverse curve work on steep roofs?
It works better on moderate pitches. On a steep roof, water leaves the shingles at speed and can overshoot the curve, which is why some installers add a splash guard or decline the job.
Does reverse curve need to go under the shingles?
The rear edge is normally tucked under the first course so water cannot get behind the panel. Lifting shingles is roof work, and doing it badly creates a leak path.
How long does a reverse-curve install last?
The panel commonly lasts 15 to 25 years. Brackets, fasteners, and paint finish fail before the aluminum body, and the nose is the first place to show wear.
Sources
Some links are affiliate links.If you buy through them we may earn a commission at no extra cost to you. We do not accept payment for rankings. Read the full disclosure.